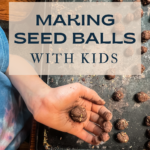
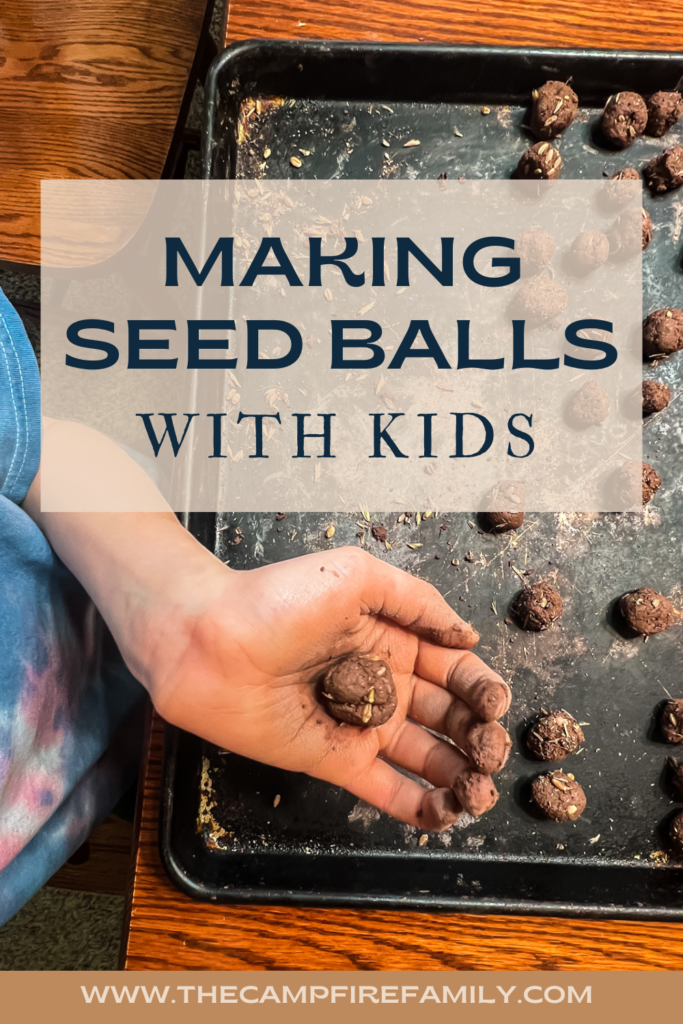
Making Seed Balls with Kids
Looking for a fun, simple, and meaningful nature activity to do with your kids? Seed balls are a hands-on way to support native ecosystems and spark some great conversations about wildflowers, pollinators, and plant life. Bonus: they’re super easy to make at home and even easier to “plant” on your next walk or bike ride!
Seed balls are little bundles of native seeds wrapped in a mix of clay and compost or soil (I used a special mix from seedballs.com) . Once dried, you can toss them into areas that need a little wild boost—no digging required. Rain and time will take care of the rest.
Native plants are the unsung heroes of our environment. They’re perfectly adapted to our local climate and soil, and they form the foundation of healthy ecosystems. Native wildflowers, grasses, and sedges provide critical food and habitat for birds, bees, butterflies, and so many other creatures—including pollinators that help grow the food we eat!
Unfortunately, many areas—like roadsides, ditches, and under-planted parks—lack these important native species. That’s where seed balls come in.
They’re perfect for:
- Roadside edges
- Open park spaces
- Ditches and forgotten corners
- Vacant lots or naturalized areas
Important Note: Use Native Seeds!
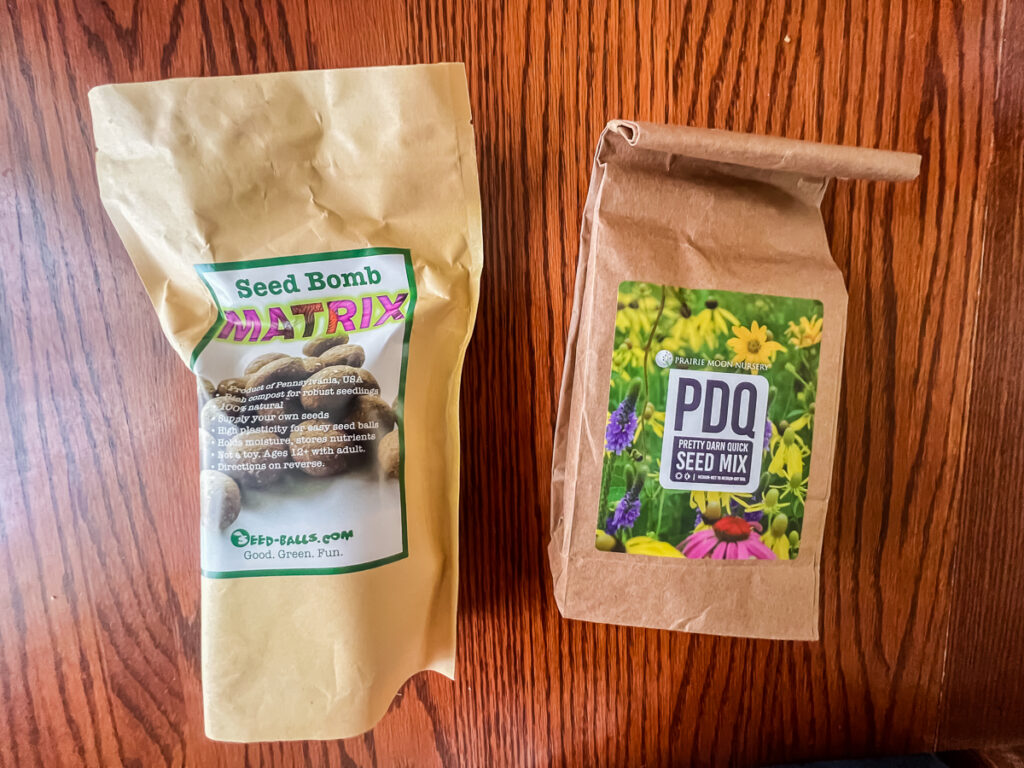
It’s so important to use seeds that are native to your specific region. Non-native or invasive species can disrupt the ecosystem, even if they’re pretty! We used a native mix from Prairie Moon Nursery, which included a mix of wildflowers, grasses, sedges, and legumes—all native to our area. It was a great way for the kids to notice the different sizes and shapes of seeds and talk about the plants they’ll become. Many of the bags of “wildflower” mixes found at box stores are actually filled with invasive seeds that are not beneficial to pollinators.
How to make native seed balls
Supplies You’ll Need:
- Native seeds (choose a mix local to your area, not a bag of generic wildflower seeds)
- Either seed ball matrix OR Pottery clay and compost/potting soil
- A bowl for mixing
- A tray or cardboard for drying
Step-by-step instructions:
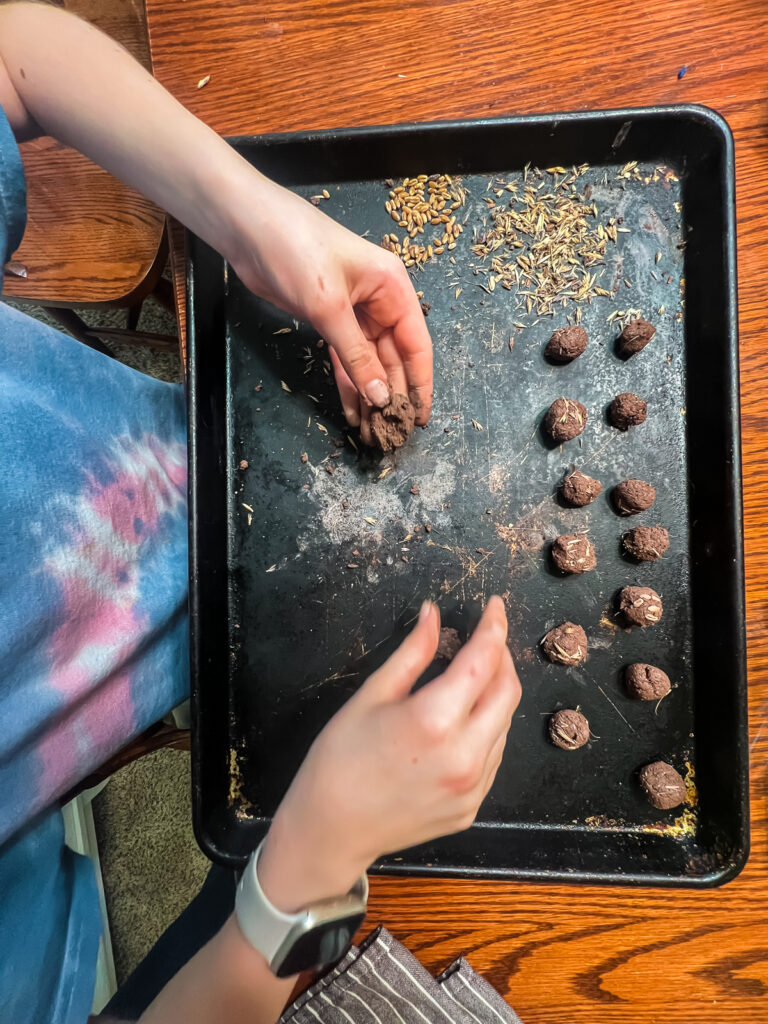
1. Gather your materials.
Lay everything out on a table or tray. This can get a little messy, so it’s great to do outside or on a washable surface.
2. Mix the ingredients.
In your bowl, mix together the seeds and the seed ball matrix. If you are using a mixture of clay and soil, you will want to use a ratio of about 3 parts clay, 1 part soil, and 1 part seeds. You might also need to slowly add in a little bit of water at a time until you get a texture similar to thick playdough. It doesn’t need to be perfect, it just needs to hold together well.
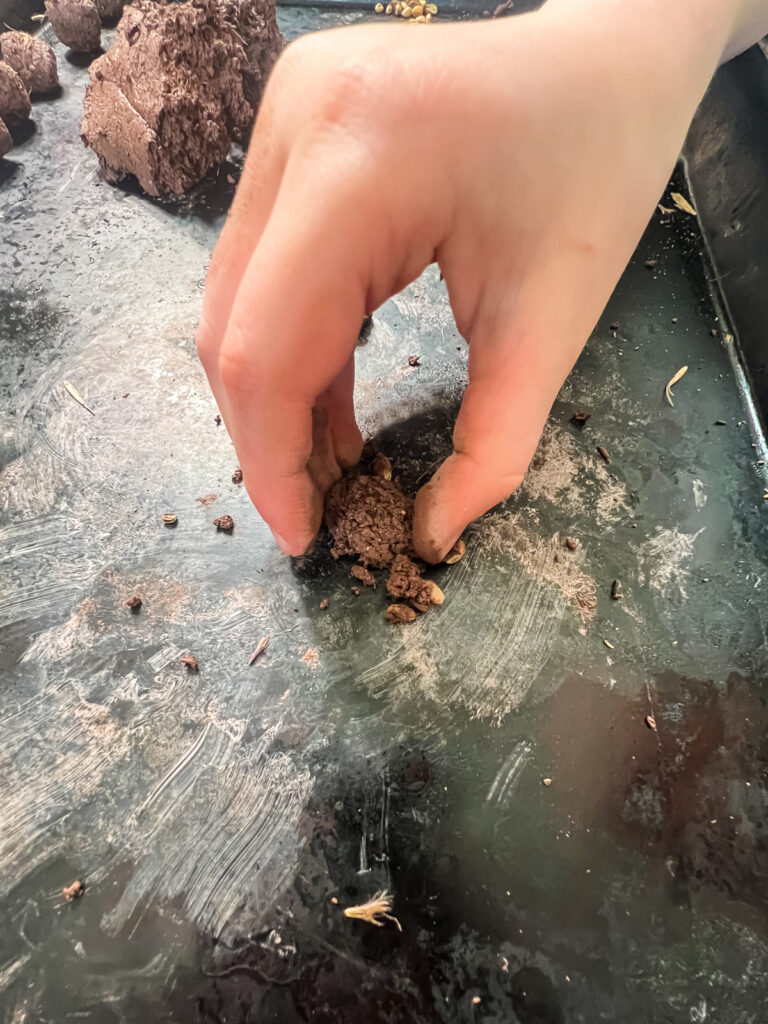
3. Roll into balls.
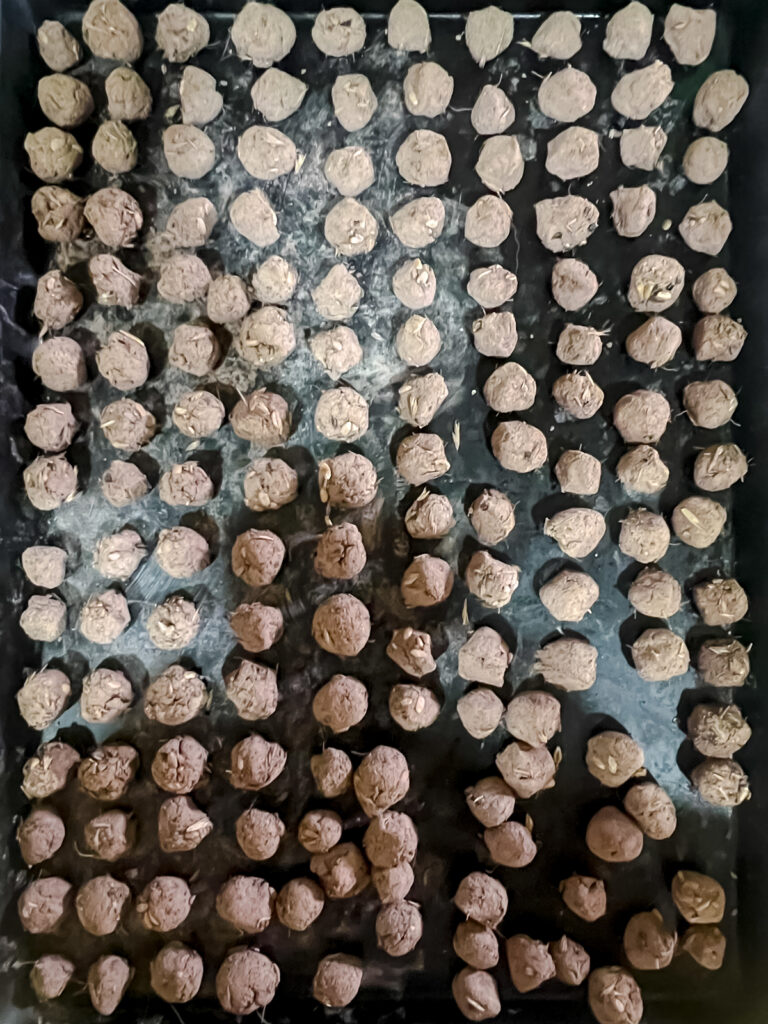
Take small pinches of the mixture and roll them into marble-sized balls (about a 1/2 inch across). Kids love this part—it’s like making nature dough balls!
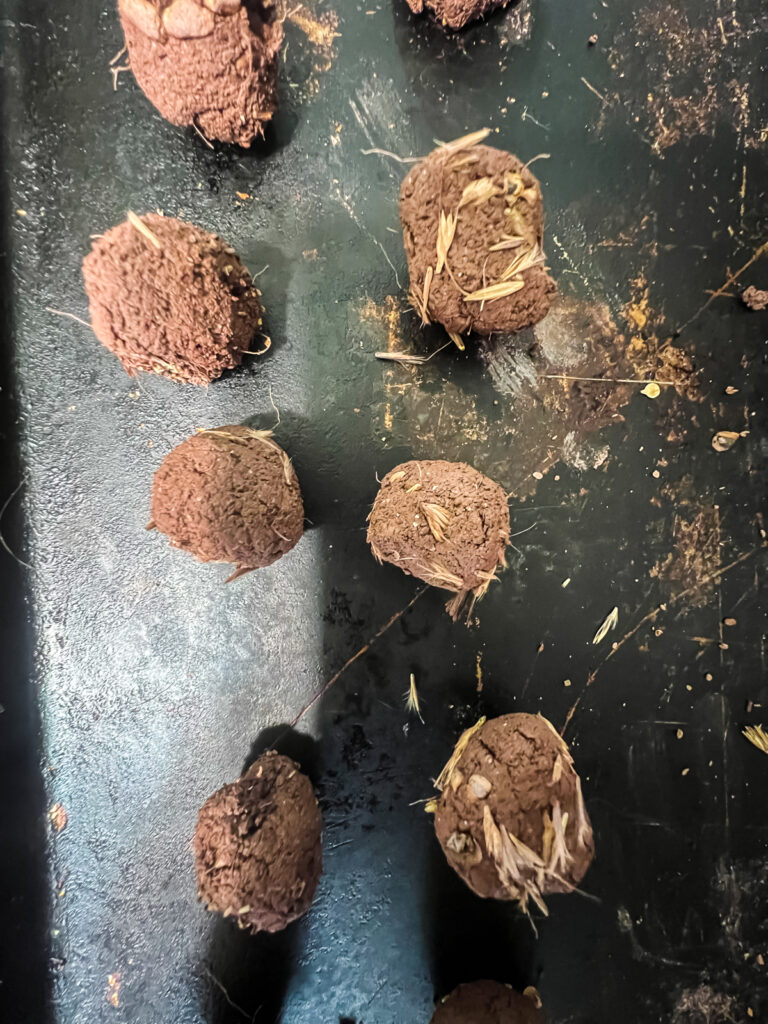
4. Let them dry.
Place your seed balls on a tray or cardboard and let them air dry for 24–48 hours, or until they’re completely dry and hard. This helps preserve the seeds until you’re ready to plant them.
5. Time to plant!
Once dry, your seed balls are ready to toss into wild spots that need a little native love! Rain will eventually soften the clay, allowing seeds to germinate naturally.
A mini nature lesson in every ball
As we rolled our seed balls, we chatted about:
- What kinds of pollinators need wildflowers
- Why some seeds are tiny while others are big and round (we even drew some in our nature journals!)
- How different plants grow and what roles they play in nature
It’s amazing how much learning can grow from a handful of clay and seeds.
Take Them With You
Once your seed balls are dry, toss a few in a pocket or zip-top bag and keep them on hand for your next nature walk, bike ride, or park outing. You never know when you’ll find the perfect little spot that could use some native beauty.